
Burnt Honey Pie – Bold Flavor in Every Bite: A Sweet Surprise for Your Taste Buds!
Imagine a pie that greets you with a warm embrace of sweetness and a hint of caramelized depth. The Burnt Honey Pie is not just any dessert; it’s an experience that dances on your palate. Picture yourself at a gathering, and as you slice into the golden crust, a luscious aroma wafts through the air, making everyone stop and stare. This pie isn’t just about looks; it’s an adventure in flavor that will have your guests begging for the recipe.
As the honey transforms under heat, it develops bold flavors that are both complex and comforting. Each bite offers a delightful contrast between the crunchy crust and the creamy filling, creating a harmonious balance that leaves you wanting more. And let’s not forget about the effortless preparation; this pie is perfect for both novice bakers and seasoned pros looking to impress without breaking a sweat.
- The unique burnt honey flavor gives this pie an unexpected twist that elevates dessert time.
- Its creamy texture complements the crispy crust, creating a delightful contrast in every bite.
- This dessert is versatile enough to serve at casual gatherings or elegant dinner parties.
- Simple to make, allowing bakers of all skill levels to create something extraordinary.
So why not indulge in this sweet sensation? The Burnt Honey Pie is sure to become your new favorite way to satisfy your sweet tooth while leaving everyone guessing your secret ingredient. Get ready for applause!
Perfecting the Cooking Process
To achieve the best results with Burnt Honey Pie, begin by preheating your oven and preparing your crust. This ensures even cooking and allows the flavors to meld beautifully. Focus on caramelizing the honey perfectly before combining it with other ingredients for a bold flavor.
Add Your Touch
Feel free to customize your Burnt Honey Pie by adding spices like cinnamon or nutmeg for extra warmth. You can also swap out regular sugar for brown sugar to enhance the caramel notes, or incorporate different nuts for added texture.
Storing & Reheating
Store leftover Burnt Honey Pie in an airtight container in the refrigerator for up to three days. To reheat, place individual slices in a warm oven briefly, ensuring they retain their delicious texture without becoming overly dry.
Expert Tips for Success
- Use high-quality honey to elevate the overall flavor of your pie.
- Monitor the caramelization closely to avoid burning beyond the desired depth.
- Allow the pie to cool completely before slicing for cleaner edges.
Frequently Asked Questions
What is Burnt Honey Pie?
Burnt Honey Pie is a unique dessert that combines the deep, rich flavors of caramelized honey with a creamy filling. The pie features a flaky crust that balances the bold flavor of the honey, making it an unforgettable treat for dessert lovers.
How does the burnt honey affect the flavor?
The process of burning the honey intensifies its natural sweetness and adds complex, toasty notes. This creates a delightful contrast with the smooth filling, providing depth and richness that elevates the overall taste experience.
Can I customize Burnt Honey Pie?
Absolutely! Burnt Honey Pie can be customized by adding various spices, citrus zest, or even nuts to enhance its flavor profile. Experimenting with different toppings or serving it alongside ice cream can create exciting variations.
Conclusion for Burnt Honey Pie – Bold Flavor in Every Bite
Burnt Honey Pie stands out with its bold flavors and unique preparation method. The interplay between the caramelized honey and creamy filling creates a deliciously balanced dessert. Whether enjoyed on special occasions or as an everyday treat, this pie promises to delight your taste buds and leave a lasting impression.
Burnt Honey Pie – Bold Flavor in Every Bite
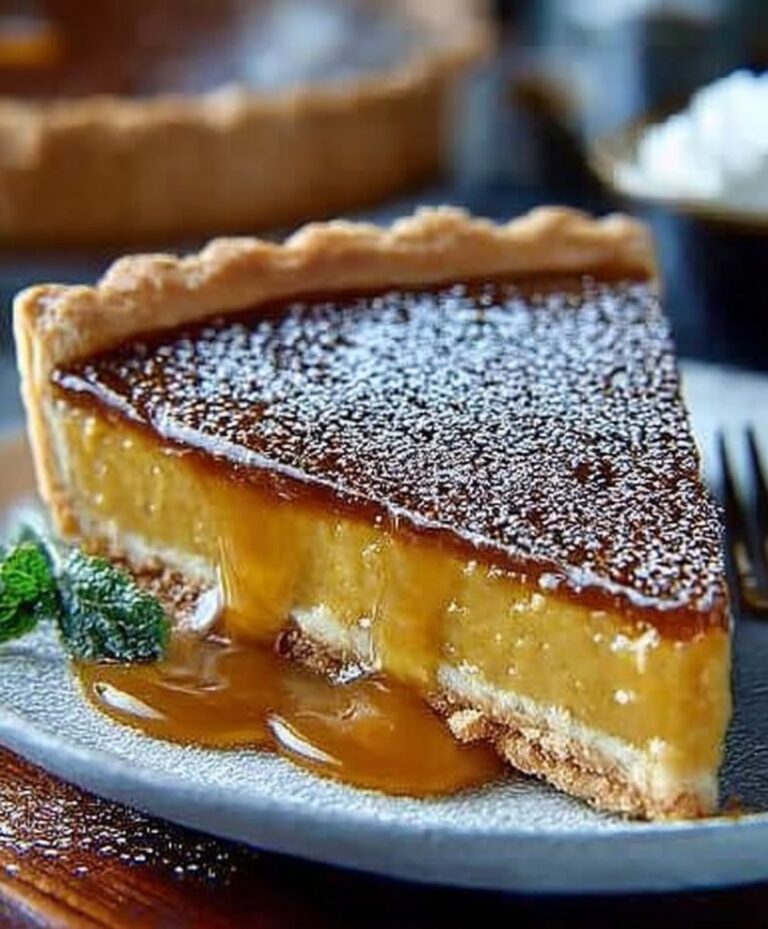
Indulge in the rich, caramelized essence of Burnt Honey Pie – Bold Flavor in Every Bite. This creamy delight features a perfectly baked crust and a luscious filling that celebrates honey’s depth.
- Total Time: 35 minutes
- Yield: 4 servings 1x
Ingredients
- 1 cup honey
- 1 pie crust (store-bought or homemade)
- 3 large eggs
- 1/2 cup heavy cream
- 1/4 cup whole milk
- 1 teaspoon vanilla powder
- 1/4 teaspoon salt
- Optional: sea salt for garnish
Instructions
- Step 1: Preheat your oven to 350°F (175°C) and place the pie crust in a pie dish, crimping the edges if desired. Blind bake the crust for about 10 minutes until lightly golden, then remove from oven and let cool slightly.
- Step 2: In a medium saucepan over medium heat, add the honey and cook it until it starts to bubble and darken slightly, about 5-7 minutes. Stir occasionally to prevent burning. Once it reaches a deep amber color, remove it from heat and let it cool for a few minutes.
- Step 3: In a large mixing bowl, whisk together the eggs, heavy cream, whole milk, alcohol-free vanilla extract, and salt until well combined. Slowly drizzle in the cooled burnt honey while continuously whisking to incorporate.
- Step 4: Pour the honey mixture into the prepared pie crust, ensuring an even distribution. Tap the pie dish gently on the counter to release any air bubbles.
- Step 5: Bake the pie in the preheated oven for about 35-40 minutes or until the filling is set but still slightly jiggly in the center. Let it cool completely at room temperature before slicing. Optionally, sprinkle with sea salt before serving for an added burst of flavor.
Notes
- For optimal freshness, store your Burnt Honey Pie in the refrigerator, covered with plastic wrap or in an airtight container, where it can last for up to three days.
- To enjoy your pie warm, gently reheat individual slices in the microwave for about 15-20 seconds or place the whole pie back in a 300°F (150°C) oven for about 10 minutes until warmed through.
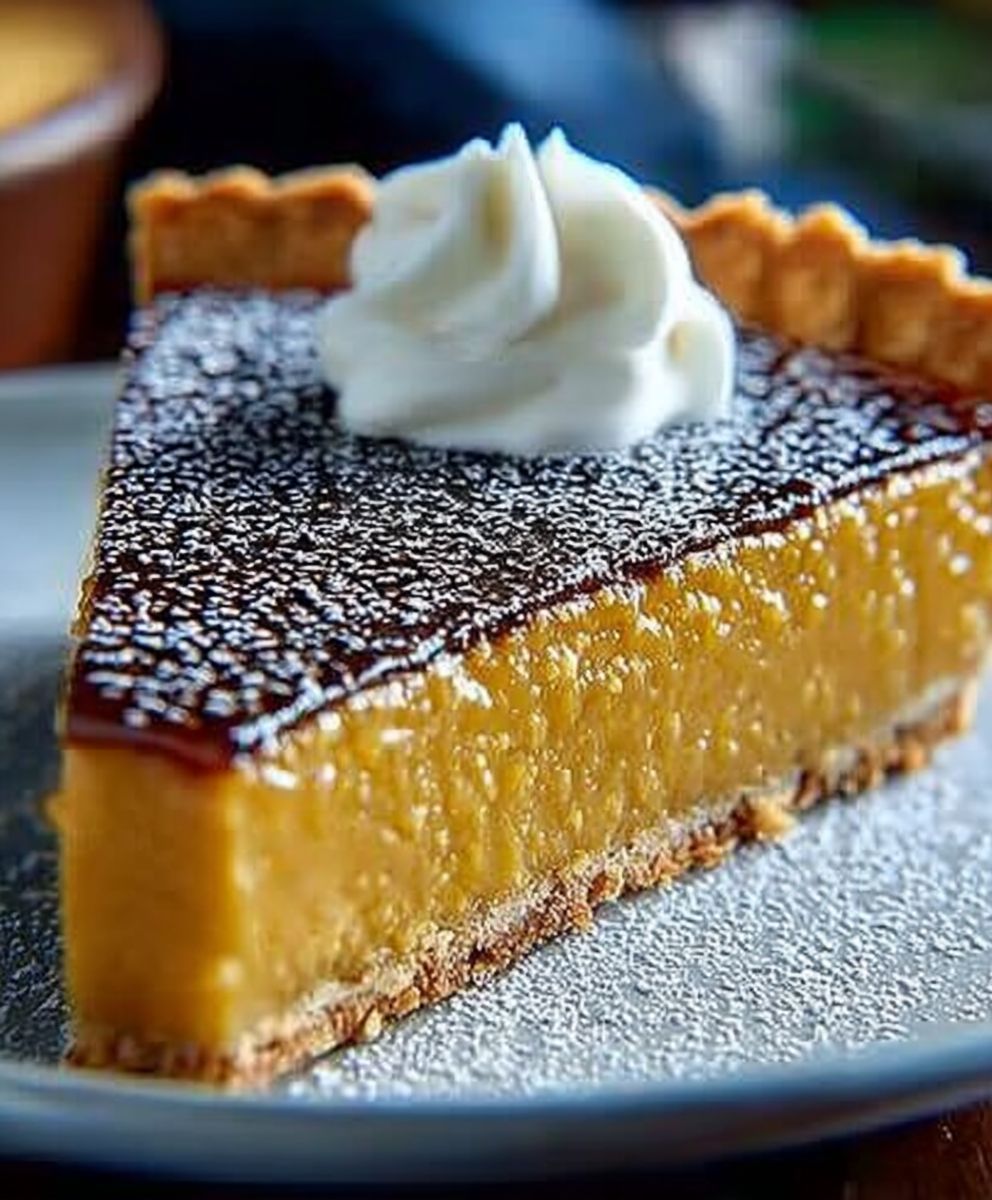
- For a delightful presentation, serve each slice with a dollop of whipped cream and a sprinkle of sea salt on top to enhance the rich flavors of the burnt honey.
- When cooking the honey, keep a close eye on it to prevent burning; it's better to remove it from heat as soon as it reaches a deep amber color, as it will continue to darken slightly while cooling.
- Prep Time: 15 minutes
- Cook Time: 20 minutes
- Method: Stovetop
- Cuisine: American
Nutrition
- Serving Size: 1 slice (1/8 of pie)
- Calories: 320
- Sodium: 150mg
- Fat: 18g
- Saturated Fat: 10g
- Trans Fat: 0g
- Protein: 25g


Leave a Comment